Requirements
Before you start the guide, it’s best to have the following things ready:
- Have at least one PSP game file to test in PPSSPP
- To play PSP games with PPSSPP, you will ideally want to use a controller – The 8bitdo Pro 2 is an excellent Bluetooth controller, and can also be connected by USB
Download PPSSPP
Visit the PPSSPP site go to the ‘Downloads’ page and select the version of PPSSPP you wish to download.
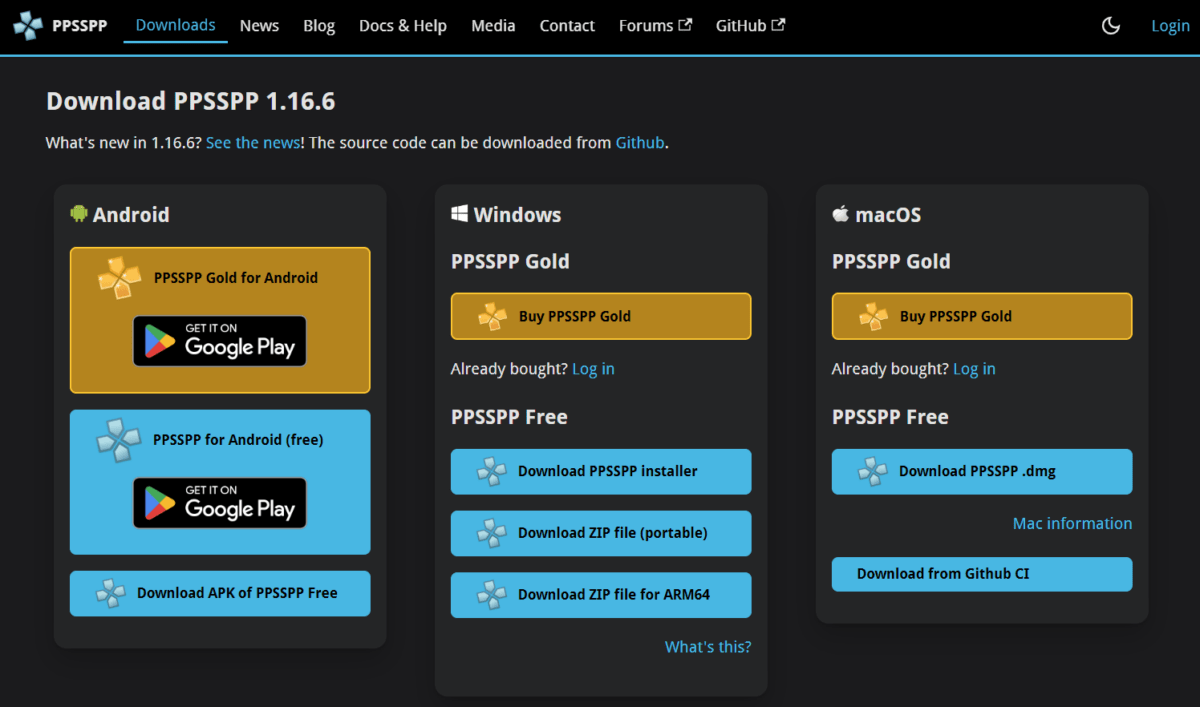
I prefer the portable version as it allows you to install PPSSPP in a folder that you can move wherever is convenient, but you can use the installer version and still follow this guide. The only difference between the two is that the installer will want you to specify a location to install PPSSPP, whereas the portable version can be moved around if required.
Install PPSSPP
Once the PPSSPP portable file has been downloaded you will need to extract the contents of this into a folder of your choice. I’ve created a folder called PPSSPP and extracted the contents of the PPSSPP zip file into it.
If you have downloaded the installer file, simply run the installer and follow the on-screen prompts.

PPSSPP Controller Setup
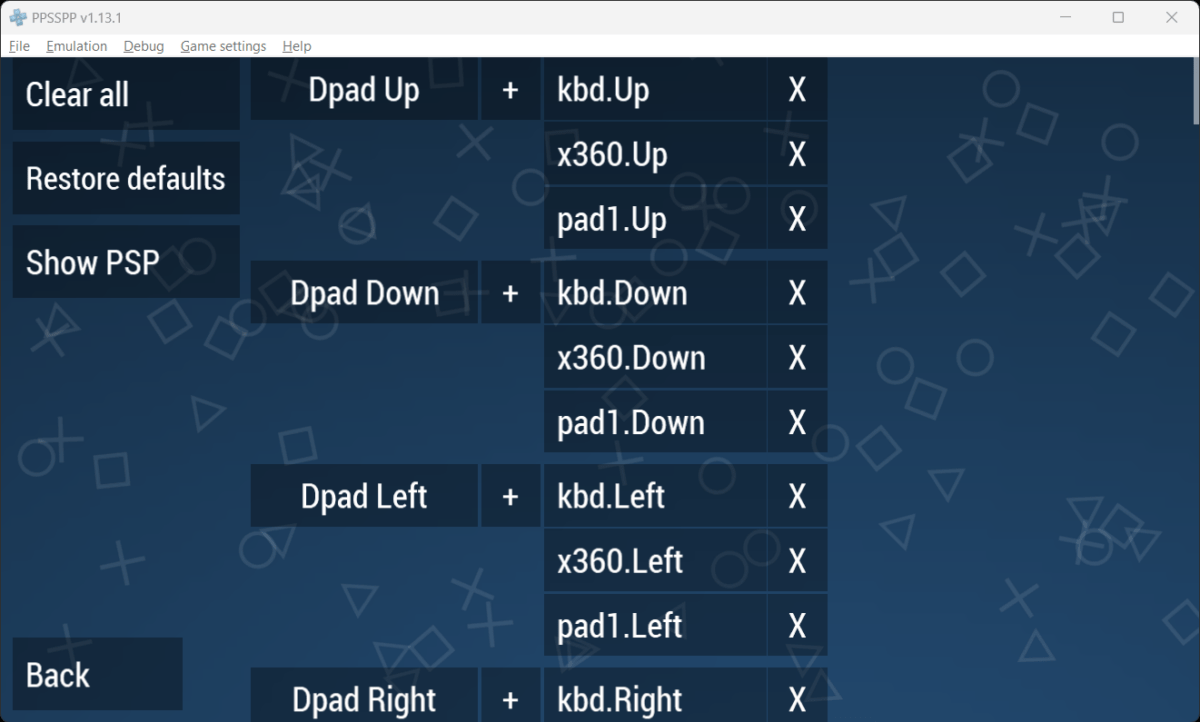
PPSSPP has some configurations already in place for controllers. To check this go to ‘Settings -> Controls -> Control Mapping’. Here you can check the mappings to your connected controller.
If you wish to remap any controls, simply press the button description or ‘+’ icon on the screen, then press the button on your controller that you wish to map to this function. You will then see the button you pressed appear on the screen successfully mapped.
Adding Games to PPSSPP
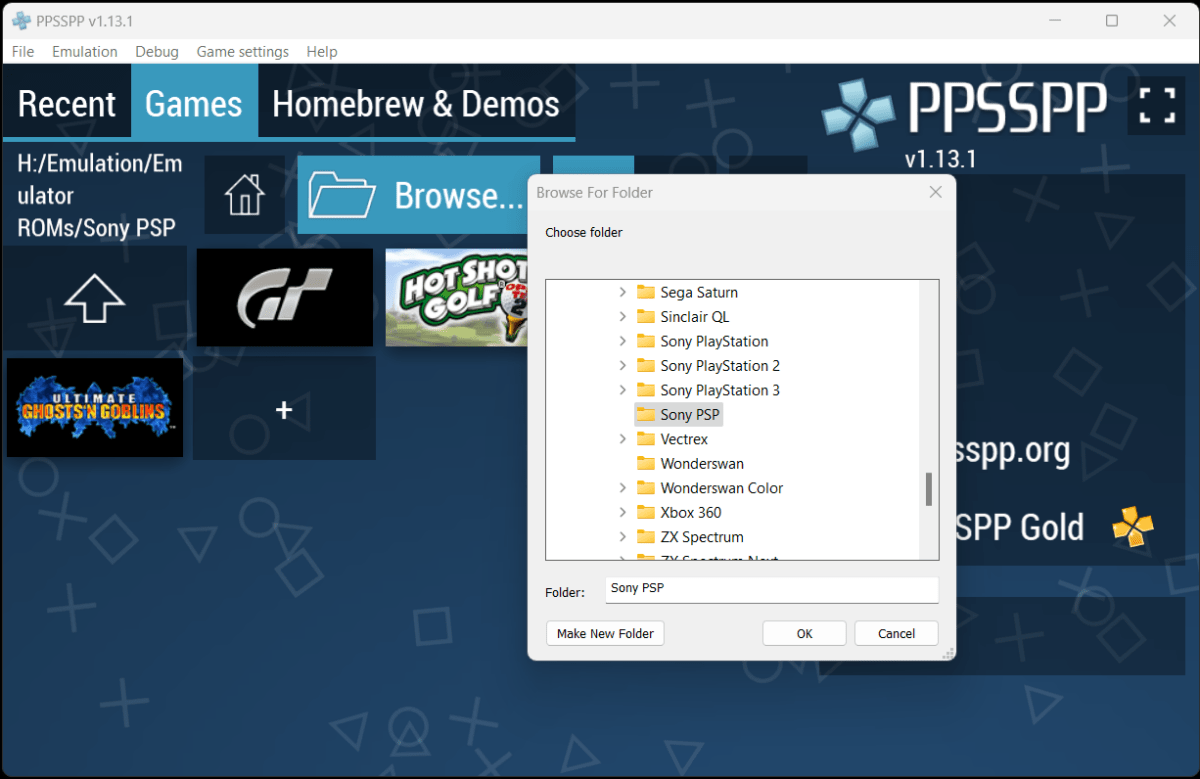
Click ‘Browse’ in PPSSPP, then navigate to your PSP games folder where you store your PSP games. Select this folder and then your games will then appear in PPSSPP.
PPSSPP Graphics Settings
PPSSPP offers some excellent tools to improve the resolution and textures of PSP games. Here are some suggested settings to get things looking sharp and upscaled.
To access PPSSPP graphics settings, go to ‘Settings -> Graphics’ and update the following settings:
- Backend – I’m going to select Vulkan, but depending on your system and the GPU it has, you may want to select the latest Direct3D version available, or in the absence of any GPU, select OpenGL
- Rendering resolution – Increase this to the resolution of the screen you are using, I’m going to select 4x PCP (1080p)
- Upscale level – Increasing this too high can be quite demanding on your system, so I suggest starting at 4x, and increasing/decreasing based on your system performance
- Anisotropic filtering – As above, start at 4x, and increase if your system is performing well, or you can lower it to 2x if your system is struggling
- Texture filtering – Set this to ‘Auto max quality’
Launch a game
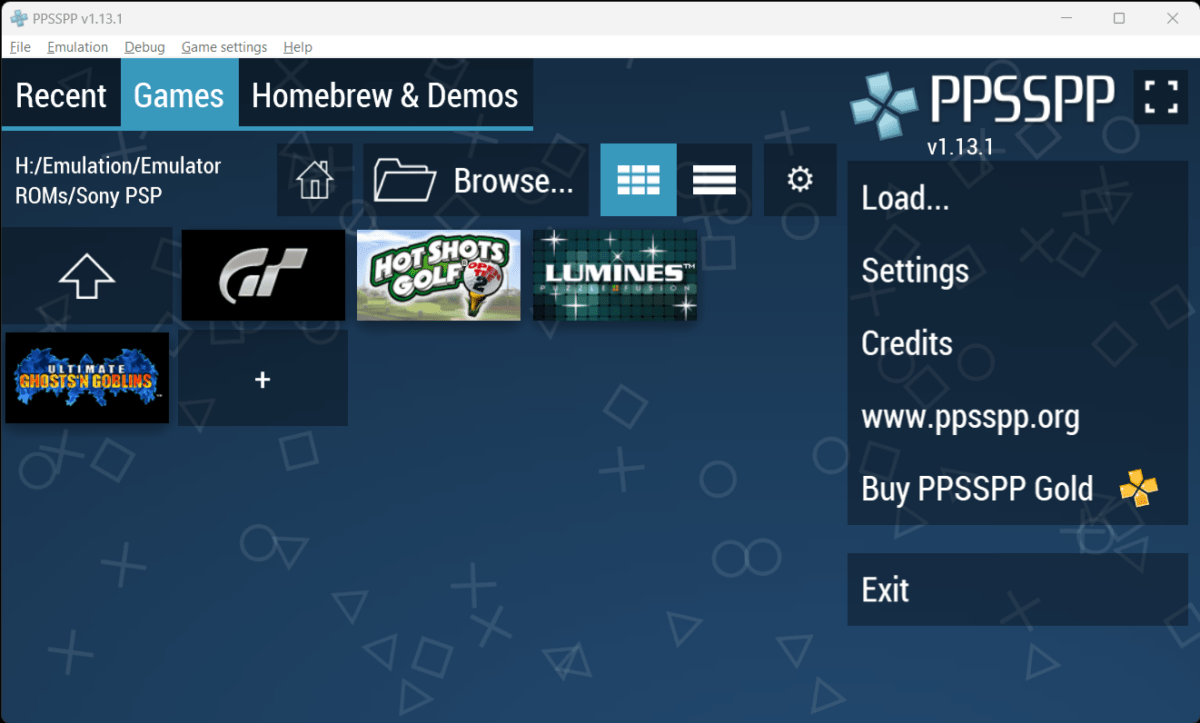
To launch a game, go back to the main PPSSPP ‘Games’ menu and select a game from the Games list to launch it and your game will now boot.
PPSSPP Save States
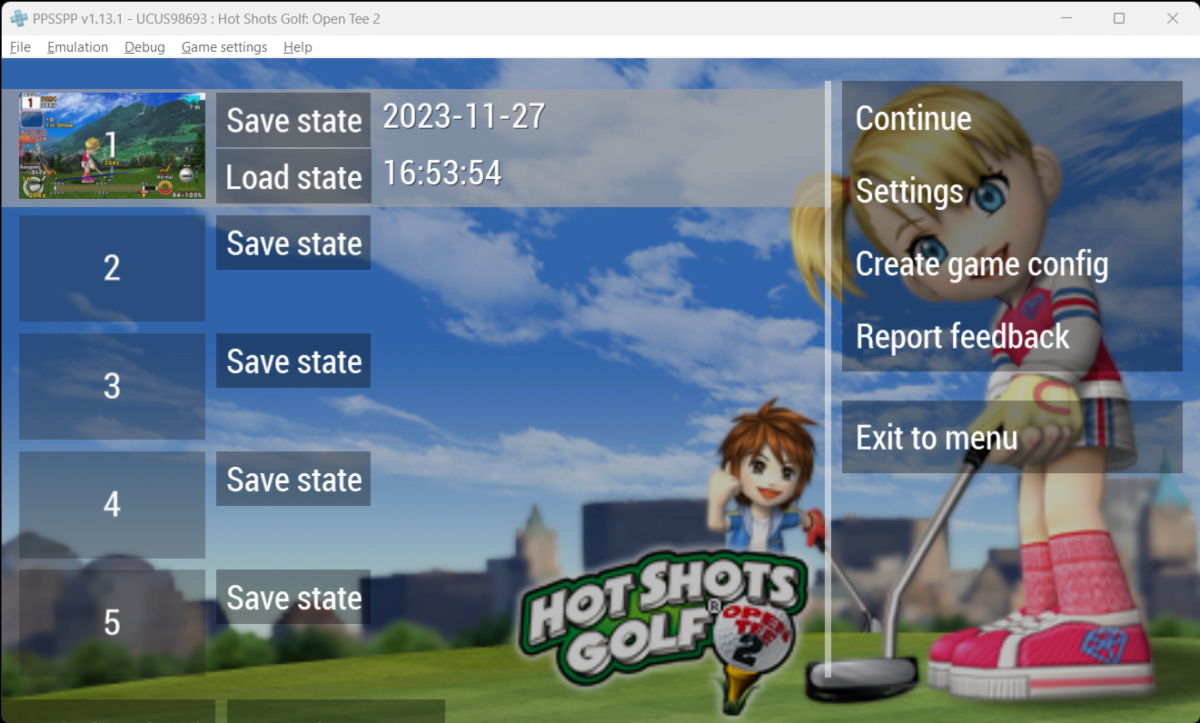
Fortunately, PPSSPP makes it really easy to save and load save states. Whilst playing a game, simply press the escape key or the button assigned to pause PPSSPP, you will then see the save state options appear.
Choose a save state slot between 1 and 5, select ‘Save state’ and your game state will save.
If you want to reload your game position, access this menu again, and select ‘Load state’ and your game will be restored to the exact position that you saved previously.
