What do I need to play PS2 games on my PC?
Here is what you will need to play PS2 games on PC:-
- PCSX2 Emulator – There are a couple of options, including RetroArch PS2 emulation, but we’ll be using PCSX2 for this guide, a download link can be found in the first step below.
- A Windows-based PC or laptop – Read the PCSX2 system requirements to check if your system is up to scratch.
- A Compatible Controller – Check out controller recommendations in our best emulator controllers guide.
Step 1 – Download PCSX2
To be able to play PS2 games on your PC, you are going to need a PS2 emulator. The best choice is also one of the best PS2 emulators for PC, which is PCSX2. We will be using PCSX2 in this guide.
PCSX2 is full of features that allow you to visually improve your PS2 games on your PC as well as offering easy controller and emulator configuration.
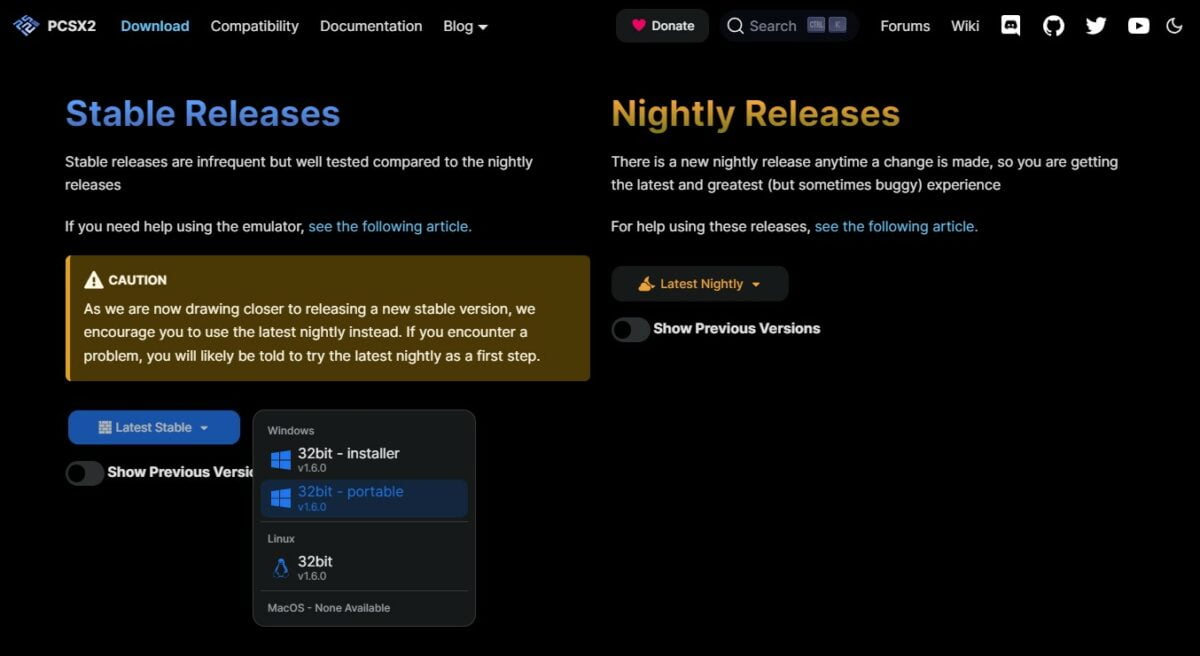
There are two types of download types for PCSX2, the installer file, and the portable version. The installer file installs PCSX2 to your PC in a location of your choice and can then be removed via Windows add/remove programs application.
Alternatively, the portable version allows you to run PCSX2 from any location of your PC from a self-contained folder. The portable version is my preference as I like to store my emulators on an external drive for portability.
Typically you will want to download the latest stable version, however, sometimes the PCSX2 team is almost ready to update the latest stable version and recommends downloading the latest ‘nightly’ release – Follow the recommendations on the PCSX2 download page. Visit the PCSX2 official site and download the emulator via the button below.
Step 2 – Launching PCSX2
- Once you have downloaded PCSX2, install it and then launch the PCSX2 application. You will then see the PCSX2 first-time configuration screen.
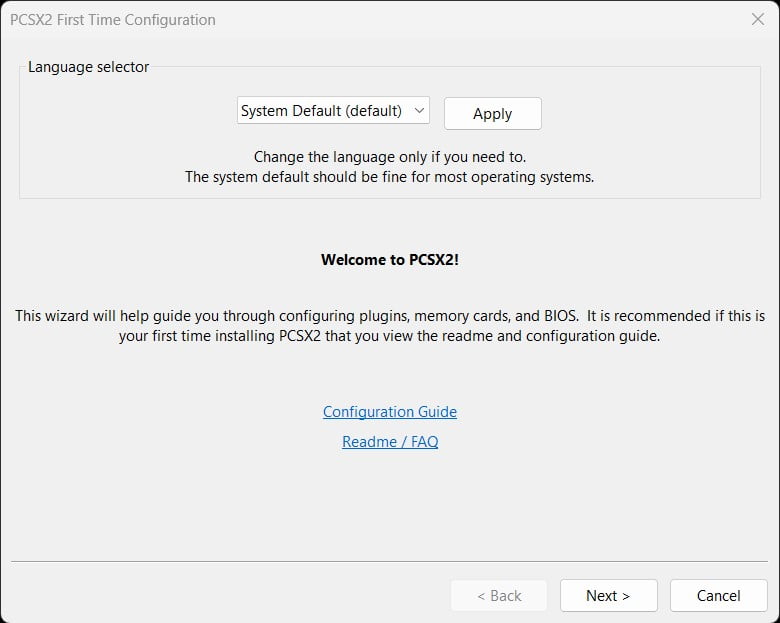
- Typically, you can click ‘Next’ to go to the next page which is the plugins selector screen. I recommend leaving these all as default for first-time use, then click ‘Next’ again where you’ll be taken to the BIOS selection section.
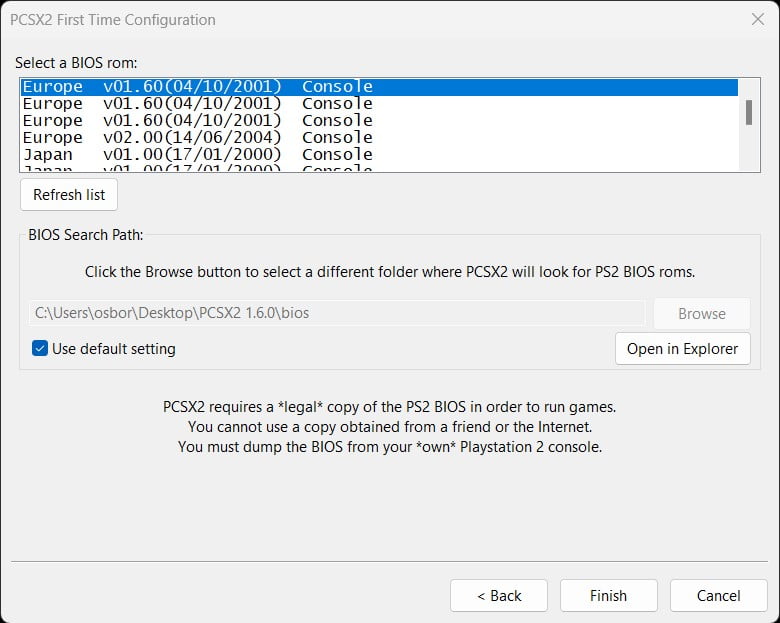
- PCSX2 requires a PS2 BIOS file to operate, so you will need to source the appropriate files yourself. These are not hard to find online, I recommend searching archive.org for BIOS files that can be used.
- Once you have sourced the relevant BIOS files, place them in the ‘bios’ folder where PCSX2 has been installed, then click the ‘Refresh list’ button in PCSX2. You should now see your BIOS file(s) appear in a list in PCSX2. Once this has been done, click ‘Finish’ to complete the initial setup process.
Step 3 – Controller Settings
With PCSX2 most of the time you will just simply need to connect your controller to your PC and you’ll be ready to go, so as long as it is a DirectInput or XInput compatible controller.
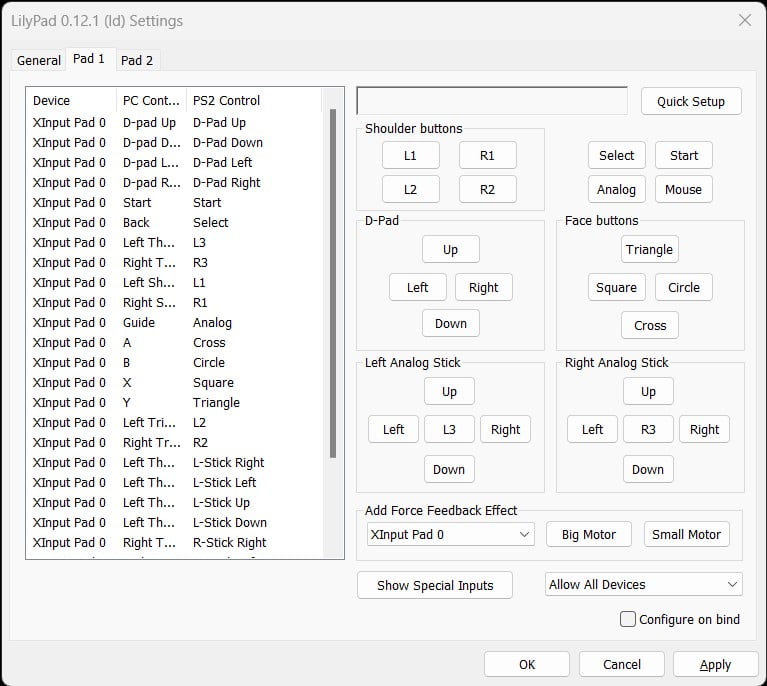
- If you wish to remap any buttons on your controller, then go to the menu section ‘Config -> Controllers (PAD)’. This section contains the controller settings for PCSX2. By default this is a plugin that PCSX2 uses for controller configuration called ‘LilyPad’.
- The ‘General’ tab contains options on controller types (For example whether PCSX2 will recognise DirectInput or XInput, compatible PC controllers).
- The ‘Pad 1’ & ‘Pad 2’ tabs allow you to remap buttons. You can remap all buttons by selecting ‘Quick Setup’ or individual buttons by selecting the button you wish to remap.
Looking For a new Controller to use with PCSX2?
If you do not already have a controller? I recommend the 8BitDo Pro 2 controller. This is one of the most versatile and value-for-money controllers available. It works with most emulators and can also be used across a wide range of systems from your PC to even the Nintendo Switch.
Step 4 – Downloading PS2 ISO Files
PS2 .iso files are digital versions of PS2 game discs and is a term you will see a lot with PS2 emulation. Downloading PS2 .iso files is an area that can be fraught with copyright issues, so for this tutorial, I am using a PS2 homebrew game ‘Beats of Rage’.
- Download the .zip file, extract the folder from the archive, and then you will have a file called ‘Beats of Rage (NTSC).iso’.
Step 5 – Booting PS2 games
All that is left to do now is boot the game you have downloaded in the previous step.
To load a PS2 .iso file in PCSX2, follow the below steps:
- Select ‘File -> Boot ISO (full)‘ or ‘Boot ISO (fast) – Fast mode simply skips the PS2 BIOS startup screen and just loads the game immediately, just choose whichever one you prefer.
- Select the ‘Beats of Rage (NTSC).iso‘ or any other PS2 .iso file you have available.
The game will now boot and you’ll be ready to play!
Step 6 – PCSX2 Upscaling
As mentioned earlier, PCSX2 has some excellent features available to get your PS2 games upscaled to resolutions above 4K!
PCSX2 has a wealth of options to improve your PS2 experience on your PC, including comprehensive video settings to get PS2 games looking sharp and upscaled to match modern display outputs.
- To access the video plugin settings of PCSX2, go to the menu ‘Config -> Video (GS) -> Plugin Settings‘.
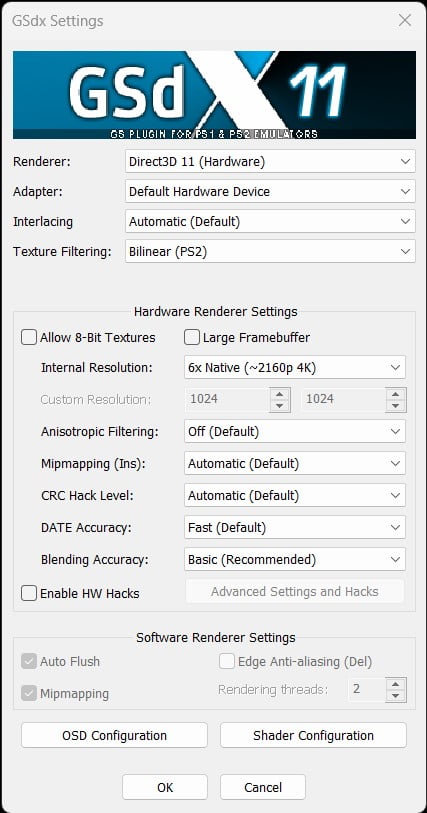
Here you can access all the tools PCSX2 has to offer to improve resolutions as well as other visual enhancing tools such as texture filtering and anisotropic filtering.
- The quickest way to improve visuals is to select the appropriate resolution for your screen by updating the ‘Internal Resolution’. For example, if you are using a 4K screen, then update the internal resolution to ‘6x Native (2160p 4K).
Be warned though, the higher you increase these settings, the more demanding they are on your PC hardware.