Lemuroid is an exceptional open-source emulator for Android devices that brings retro gaming to your fingertips without the steep learning curve.
Developed by Filippo Scognamiglio, Lemuroid has quickly gained popularity within the retro gaming community and among more casual retro gamers, thanks to its user-friendly interface, extensive compatibility, and all-round accessibility. Lemuroid supports many classic consoles, including the NES, SNES, Sega Genesis, Game Boy Advance, PS1, 3DS, and lots more.
In this Lemuroid setup guide, we take you through the installation and configuration steps to have you playing your favourite retro games in no time!
Installing Lemuroid
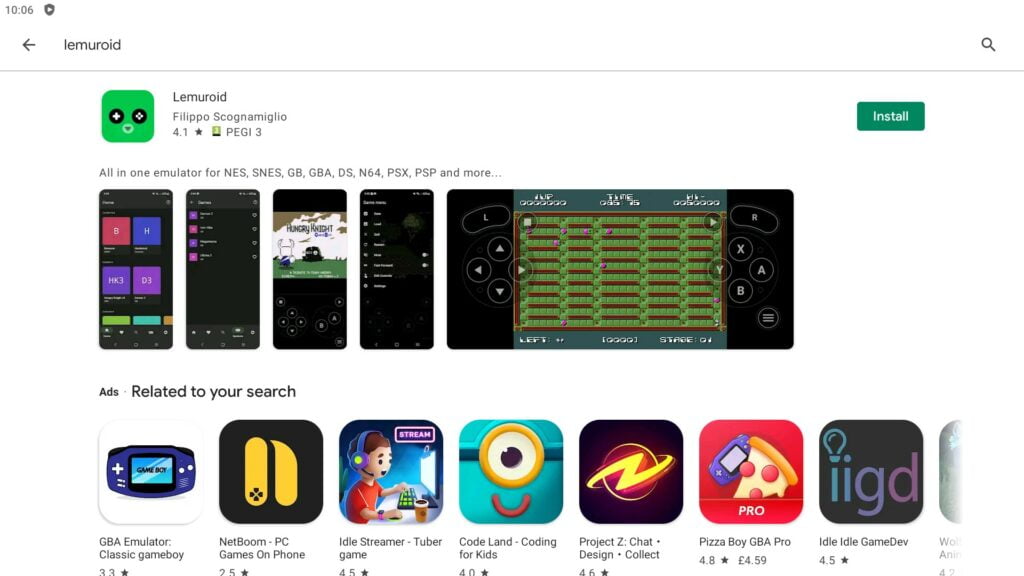
Step 1: Install Lemuroid From Google Play Store
- Open the Google Play Store and search for “Lemuroid”
- Locate Lemuroid by Filippo Scognamiglio
- Tap “Install” to download and install
Setting Up Lemuroid
Step 1: Initial Set Up
Before you can use Lemuroid, you’ll need some game ROMs – itch.io has an excellent collection of free retro homebrew games that are designed to be played on original hardware, so are perfect for emulators too.
- Open Lemuroid on your device
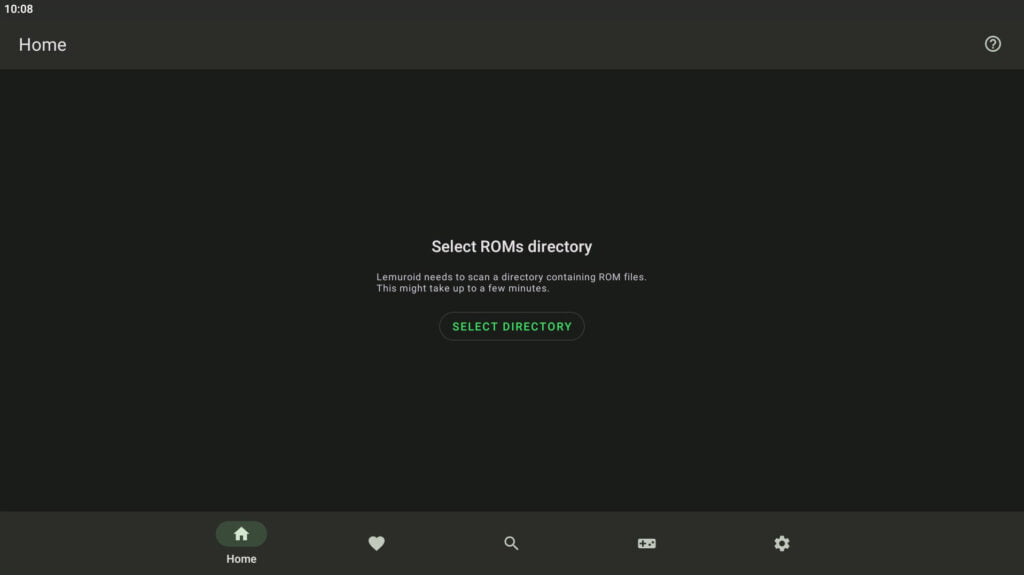
- The first screen you will see asks you to select your ROMs directory, tap ‘Select Directory’
- Allow Lemuroid to access storage on your device if requested to do so
Step 2: Import Game ROMs
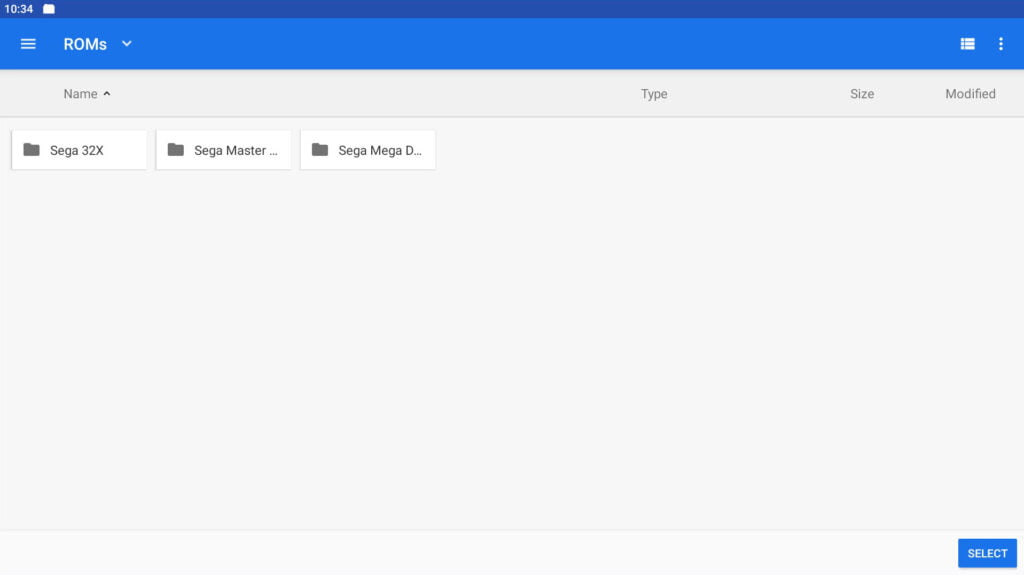
- You will now need to navigate to where you have game ROMs saved on your Android device
- Once you have found the folder where your ROMs are stored, tap ‘Select’
- Your games will now be imported*. Lemoroid also conveniently imports game box art where it is able to do so
- Something worth noting at this stage is that you can set games as ‘Favourites’. To do this, simply hold your finger on the game you wish to save as a favourite, then a menu will appear where you can select ‘Add to favourites’
*If you find that your games are not importing, then ensure that your game ROM files are not stored in an archive file such as .zip, .rar, 7z, etc as this sometimes can cause issues.
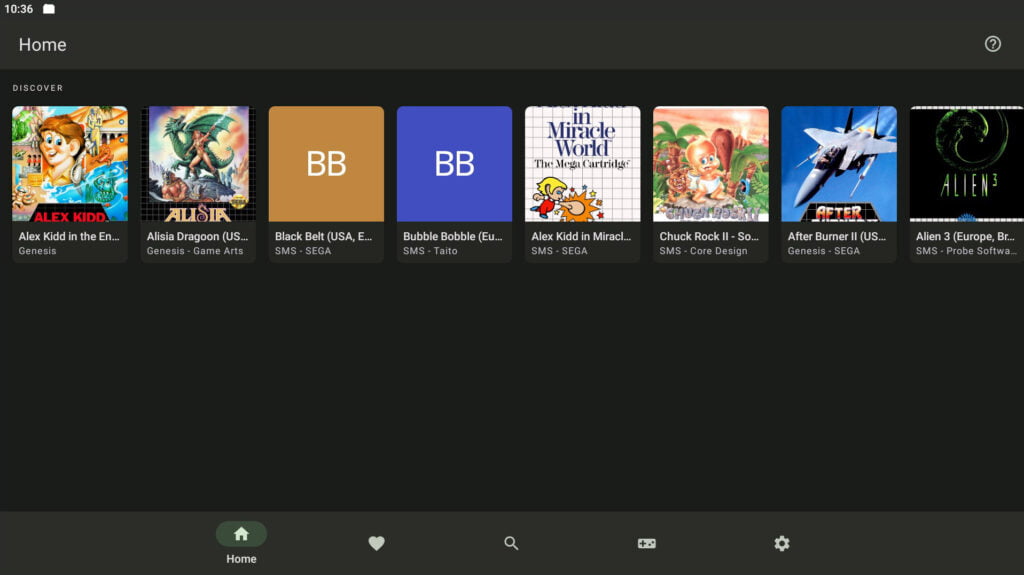
Navigating Lemuroid
- You will see that Lemuroid has 5 icons at the bar at the bottom of the app
- Home – This returns you to your game library
- Favourites – Any games saved as favourites are listed here
- Search – Search for any game in your library
- Systems – Lists your emulated systems (e.g. Sega Master System, SNES, etc)
- Settings – Accesses Lemuroid settings
Playing Games on Lemuroid
Step 1: Choose a Game
- Now your games have been imported, you can simply tap the game you wish to play
- The game will now launch
Step 2: Control Options
- By default, without an external controller connected to your Android device, Lemuroid will display touchscreen controls
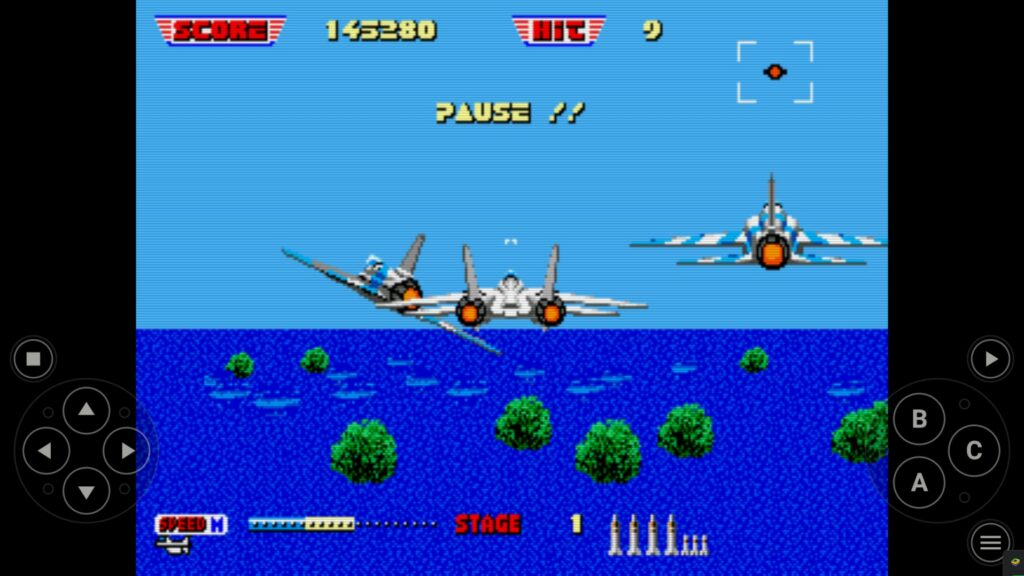
- If you wish to use an external controller such as a Bluetooth controller, then ensure you have this connected to your Android device before booting Lemuroid, and should automatically be picked up
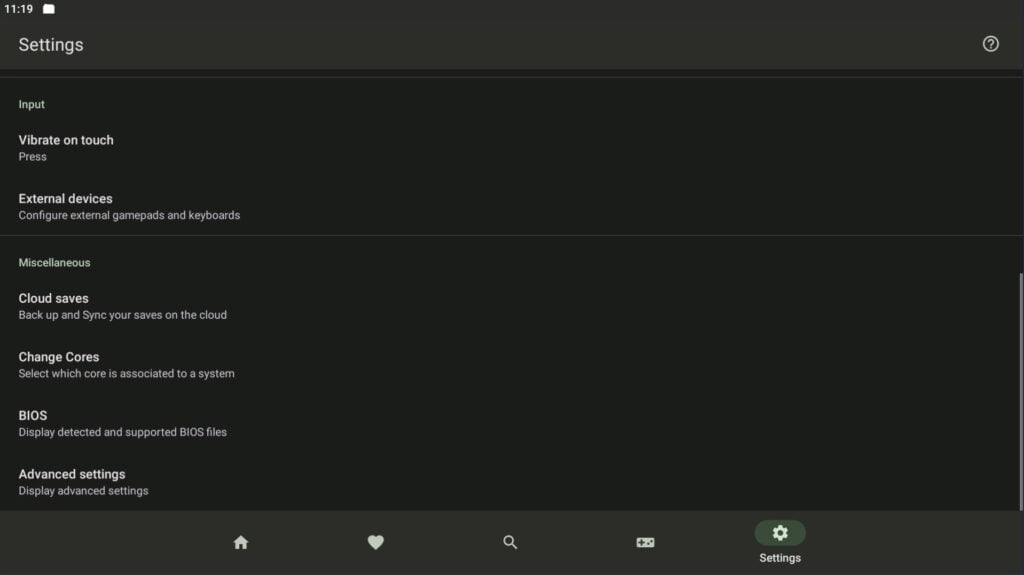
- If you need to remap your controller buttons, you can do this by accessing the ‘Settings’ menu along the bottom bar, then selecting ‘External devices’ where buttons can be remapped for connected controllers
Step 3: Saving and Loading Game States
One of the great features of Lemuroid includes saves states, which allow you to save and instantly recall your position in a game.
- Access the in-game menu by holding the menu icon (this is the button with the 3 horizontal lines)
- Here you will see the game menu appear, and also ‘Save’ and ‘Load’ options
- To save your games state, select ‘Save’, then select a save game slot
- To recall a save state, select ‘Load’, then select the save states slot you wish to load
Lemuroid Settings
Lemuroid has a decent amount of options available to enhance your emulation experience, but it balances complexity with accessibility by not providing an overwhelming amount of options to the user.
There are two main places to configure Lemuroid and emulator settings, the main Lemuroid settings screen allows you to configure the following settings:
Lemuroid Settings
- Setting your ROM directory and rescanning it for new games
- Save state autosave settings
- HD mode settings
- Default display filters
- Input settings (vibration and external controller mapping)
- Cloud save settings
- Default emulator core settings
- BIOS files detected
- Advanced settings
Emulator Core Settings
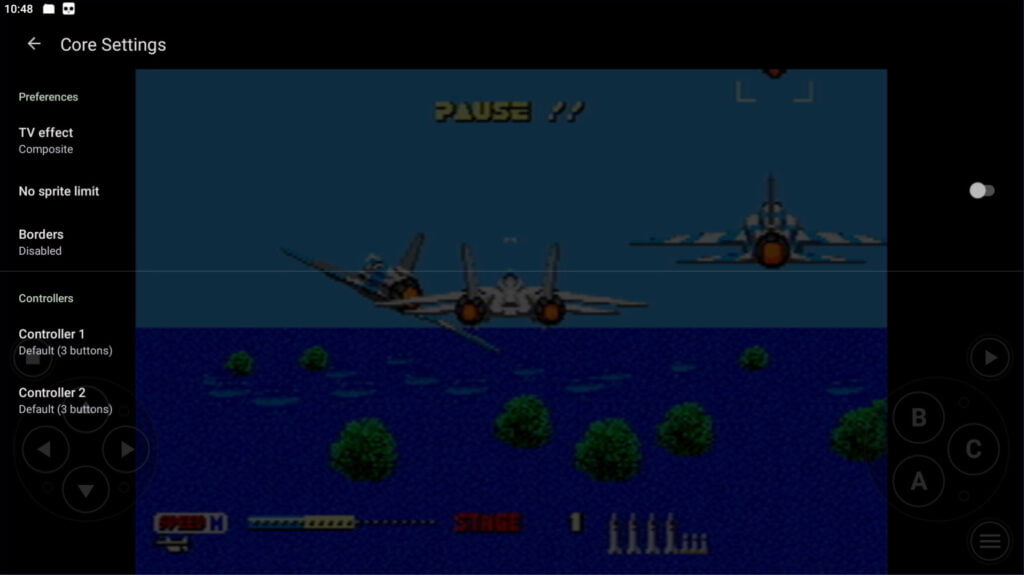
The second set of configuration settings are found when you play a game, these are specifically the emulation core settings and can be accessed by holding the ‘menu’ button in the game (this is the button on the screen with the 3 horizontal lines). Emulator core settings typically include things such as:
- TV / Filter effects
- Graphical improvements
- Controller settings (specifically for the emulator core)
Summary
We love Lemuroid, it’s the perfect alternative for anybody who finds RetroArch a little intimidating and would rather simply just press a couple of buttons and be ready to play!
Lemuroid does just that, and it offers a surprisingly comprehensive amount of emulation cores. At the time of writing, Lemuroid offers emulation for the following systems, all utilising the same Libretro emulation cores that RetroArch does.
Lemuroid Cores
- Atari 2600 (A26) (stella)
- Atari 7800 (A78) (prosystem)
- Atari Lynx (Lynx) (handy)
- Nintendo (NES) (fceumm)
- Super Nintendo (SNES) (snes9x)
- Game Boy (GB) (gambatte)
- Game Boy Color (GBC) (gambatte)
- Game Boy Advance (GBA) (mgba)
- Sega Genesis (aka Megadrive) (genesis_plus_gx)
- Sega CD (aka Mega CD) (genesis_plus_gx)
- Sega Master System (SMS) (genesis_plus_gx)
- Sega Game Gear (GG) (genesis_plus_gx)
- Nintendo 64 (N64) (mupen64plus)
- PlayStation (PSX) (PCSX-ReARMed)
- PlayStation Portable (PSP) (ppsspp)
- FinalBurn Neo (Arcade) (fbneo)
- Nintendo DS (NDS) (desmume/MelonDS)
- NEC PC Engine (PCE) (beetle_pce_fast)
- Neo Geo Pocket (NGP) (mednafen_ngp)
- Neo Geo Pocket Color (NGC) (mednafen_ngp)
- WonderSwan (WS) (beetle_cygne)
- WonderSwan Color (WSC) (beetle_cygne)
- Nintendo 3DS (3DS) (citra)